
You've squeezed adhesive onto your collarbone, pressed your dress into place, and felt secure until you reached for your phone and the entire neckline peeled away like a Post-it note losing grip.
Quick take: Body glue fails when you apply it in dots instead of lines. Clean skin first, use body adhesive in thin continuous strokes, press fabric with warmth for 30 seconds, then wait 60 seconds before moving. This method holds 10-12 hours through sweat and dancing without lifting or leaving marks.
Why Most Body Glue Applications Fail Within 3 Hours
Body glue bonds to your skin's surface chemistry, not just the top layer of fabric. When the bond breaks early, three prep mistakes are usually responsible:
Skin oils block adhesion. Your body produces sebum constantly. A thin film of oil sits on your skin right now, even if you showered an hour ago. When you apply adhesive over that layer, you're gluing to oil not skin. The bond might feel strong initially, but as soon as you move or sweat, the oil layer slides and the fabric lifts.
Moisture dilutes the adhesive. Lotions, sunscreen, and even residual water from washing create a barrier. Silicone-based body glue is designed to be sweat-resistant once cured, but it can't cure properly if applied to damp skin. The bond never fully sets.
Dots instead of lines concentrate stress. When you dab adhesive in small dots, each dot becomes a single point of failure. Fabric pulls against those dots with every breath and movement. Lines distribute tension across the entire edge, so no single spot bears all the load.
Step 1: Prep Your Skin
Clean, dry skin is all you need. No alcohol, no special products, just make sure the area is free of lotion or sweat before you start. Oops Proof is a skin-safe fashion fix, so the less you fuss with your skin beforehand, the better.
Step 2: Apply Adhesive in Thin, Continuous Lines
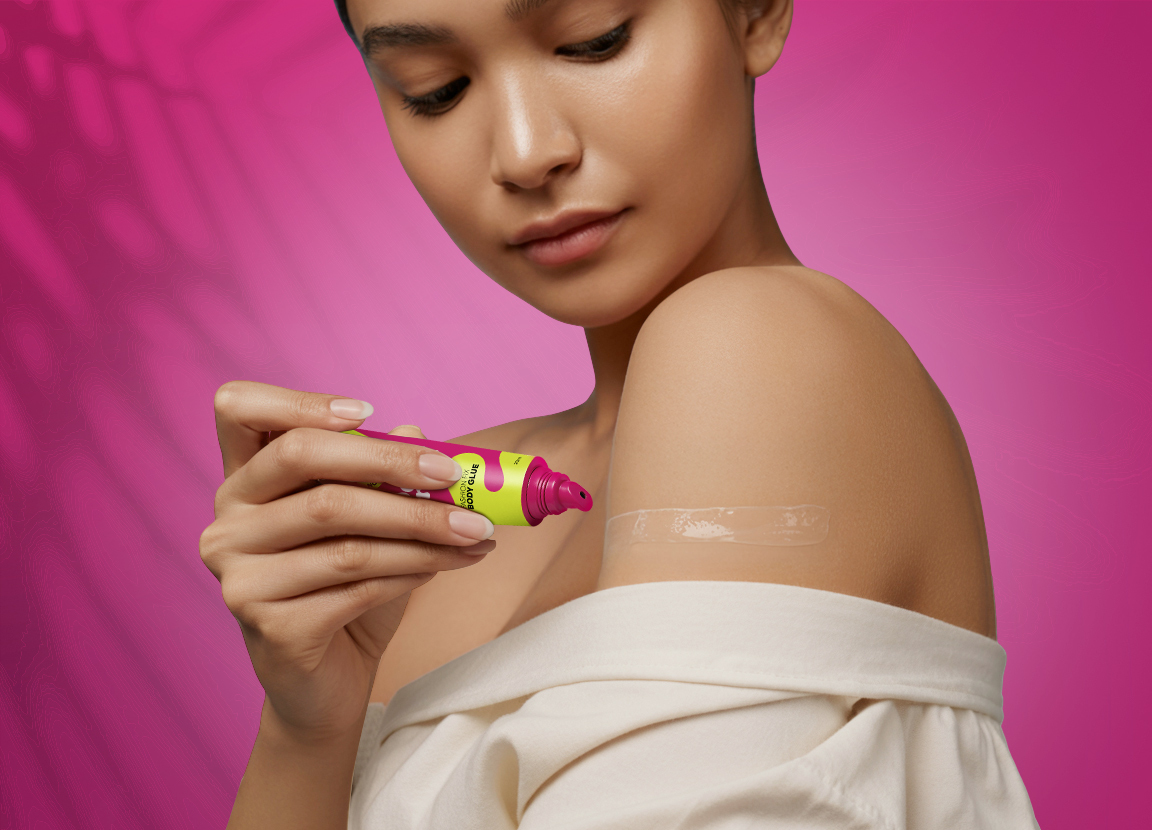
Squeeze a thin line of body glue directly onto your skin, not the fabric. Follow the exact path where the garment edge will sit along a neckline curve, down a side panel seam, across a back strap.
The line should be about 2mm wide. Thicker doesn't mean stronger. Excess adhesive just creates visible residue and takes longer to cure. If you're working with a plunging neckline, run the line 5mm inside where the fabric edge will land, so the glue stays hidden.
For backless outfits with multiple anchor points, apply all lines in one session before pressing any fabric. This keeps the cure timing consistent across all bonds.
Step 3: Press Fabric With Warmth for 30 Seconds
Place the fabric edge onto the adhesive line. Press firmly with your palm for 30 seconds. The warmth from your hand activates the silicone polymers and starts the bonding process.
Don't pat or tap. Sustained pressure matters. If you're securing a side panel, press from top to bottom in one smooth motion, then hold at the bottom for the full count.
For areas you can't reach (like upper back straps), ask someone to press for you or use a clean towel wrapped around your hand to apply even pressure without transferring oils from your fingers.
Step 4: Wait 60 Seconds Before Moving
This is where most applications fail. The bond feels strong immediately, so you adjust your dress, reach for your bag, or walk to the mirror. That movement during the cure window breaks the polymer crosslinks before they fully set.
Stand still for 60 seconds after pressing. No arm raises. No torso twists. Let the adhesive finish its chemical bond with your skin.
After the minute passes, test one small section by gently tugging the fabric edge. If it lifts easily, press again for another 30 seconds and wait another 60. If it holds firm, you're locked in for the next 10-12 hours.
What Happens If You Skip Prep or Rush the Cure
| Mistake | What Breaks | When It Fails |
|---|---|---|
| No alcohol wipe | Adhesive bonds to oil layer, not skin | 2-3 hours, or first sweat |
| Adhesive applied in dots | Stress concentrates at each dot | First arm raise or deep breath |
| Moved before 60-second cure | Polymer chains don't finish crosslinking | Within 1 hour of wear |
| Fabric pressed without warmth | Silicone doesn't activate fully | 3-4 hours, or first movement |
Clean skin , apply body glue in thin lines (not dots), press fabric for 30 seconds with warmth, and let the bond cure for 60 seconds before moving.
Removal: Peel Slowly With Oil, Not Force
At the end of the night, don't yank the fabric off. Silicone adhesive releases cleanly with oil, but ripping it creates skin irritation and sometimes leaves residue.
Soak a cotton pad in coconut oil, baby oil, or any body oil. Hold it against the glued edge for 10 seconds to saturate the adhesive. Gently peel the fabric away while continuing to apply oil along the bond line.
If any residue remains on your skin, rub it gently with more oil. It will ball up and roll off. Wash with soap and water afterward. Your skin should be clean and irritation-free.
Never use alcohol or acetone for removal. These solvents dry out your skin and don't break down silicone adhesive effectively. Oil works faster and leaves skin soft.
Choosing the Right Formula for Your Outfit
Not all body glues perform the same. Silicone-based formulas hold longest and remove cleanest. Acrylic-based formulas dry faster but can irritate sensitive skin and leave sticky residue.
For plunging necklines and backless dresses, choose a sweat-resistant silicone formula. For lightweight fabrics like chiffon or silk, a lighter-hold formula prevents fabric puckering. For dance performances or long events in humid weather, medical-grade formulas rated for 12+ hours give the most reliable hold.
Frequently Asked Questions
Can I reapply body glue if it starts lifting during wear?
Yes, but only if you clean the area first. Wipe both skin and fabric with an alcohol pad, let dry for 30 seconds, then apply a fresh thin line and press for 30 seconds. Applying new adhesive over old creates a weak double layer that peels faster.
Does body glue work on all fabric types?
Silicone-based body glue works on most fabrics like cotton, polyester, satin, jersey. It struggles with heavily textured fabrics like sequins or thick brocade because the adhesive can't make full contact with skin through the texture. For these, consider sewing in snap anchors instead.
How long does body glue last on skin before I need to remove it?
Most silicone formulas hold 10-12 hours. After that, sweat and natural skin oils start breaking down the bond. If you're wearing an outfit for longer than 12 hours, plan to reapply once mid-event using the alcohol prep method.
Will body glue damage delicate fabrics?
Silicone-based adhesives don't stain or damage fabric when removed properly. Acrylic-based formulas can leave residue on silk and chiffon. Always test on an inside seam first if you're unsure, and remove the adhesive with oil rather than pulling the fabric off forcefully.
Can I use body glue if I have sensitive skin?
Yes, if you choose a hypoallergenic silicone formula. Avoid formulas with added fragrances or latex. Do a patch test on your inner wrist 24 hours before wearing. If no redness or itching appears, it's safe for full use.
What's the difference between body glue and fashion tape?
Body glue bonds chemically to skin and holds through sweat and movement for 5+ hours. Fashion tape is a double-sided adhesive designed for fabric-to-fabric bonds and it peels within 3 hours on skin, especially in humid conditions or during active wear.
Try This Today
1. Test the bond before your event. Apply a small line of body glue to your inner wrist using the alcohol prep method. Press a fabric scrap to it, wait 60 seconds, then move your wrist through a full range of motion for 10 minutes. If the fabric stays put, you know the formula works for your skin type.
2. Read about common outfit problems body glue solves. If you're dealing with gaping necklines, shifting straps, or side panel issues, check out tested fixes that hold through a full day without safety pins or constant adjusting.
3. Keep a prep kit ready. Store alcohol pads, cotton rounds, and body oil in a small pouch with your adhesive. Prep determines hold time more than the glue itself having the right tools on hand means you can reapply correctly if needed, rather than improvising with whatever's in the bathroom.

